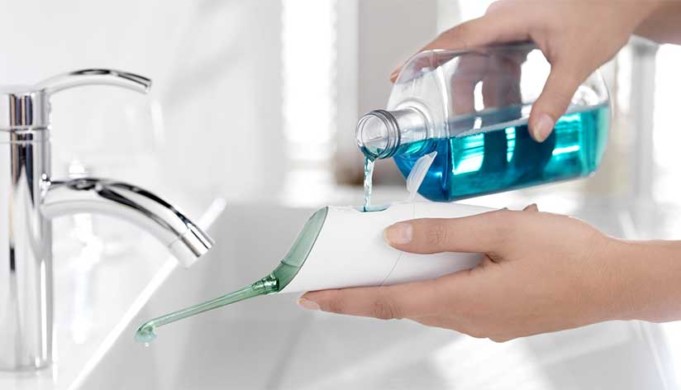
Flossing is quite pertinent to oral hygiene, but sometimes people avoid it simply because the dental floss string is not an appealing and convenient way to do so. However, the water flosser is an excellent design to make the task relatively easier and securer.
Even the best water flosser will be of no use if you are unable to learn how to effectively use it, which is exactly what this guide aims to highlight for your convenience in the future.
Setting up
Water flossers were designed for oral healthcare at home. For the duration of this article and all explanations, we will be using the Waterpik Aquarius as the example flosser as it has been rated the best by users worldwide.
Fill the reservoir you get with the flosser with warm water and place it on the base of flosser, ensuring that it is fully seated. Join the tip of the sprayer to the handle coming from the flosser. If this is your first time using the water flosser, point the tip towards the sink, set pressure to high, and spray all the water into the sink to get an idea of the pressure and control of your water flosser.
Flossing without splashing
Fear of splashing is perhaps the biggest nuisance that hinders people from flossing their teeth, regardless of how important it is. However, there is definitely a way to make the entire procedure not messy at all.
Adjust the pressure meter to start off at a low pressure (which can be altered later on according to what you need), lean in over the sink to ensure that the water flows back into the sink after hitting the teeth. The way to avoid splashing is to keep your lips closed and allow the water to flow back into the sink in the form of a lined up stream instead of through splashes.
Effective usage
You cannot just shoot from the sprayer anywhere and claim that your flossing is complete; there is a specific angle and area that needs to be tackled with the flosser to ensure maximum effectiveness.
Ensure that the tip of your sprayer is at a right angle to the teeth, and aim for the gum line instead of the top of each tooth because that is where the flossing really is required.
Do not spray around in a manner similar to brushing your teeth; spray each tooth sufficiently along the gum line and wait before moving on to the next one. It is recommended that users start from the back teeth and head on to the next ones until all are done.
Packing up
Simply press the eject button on the flosser, dry the tip from the outside gently using a dry cloth and store it to your ease.
The functioning of each water flosser available in the market is no different from the Waterpik Aquarius, which means that this guide will be helpful regardless of whichever flosser you purchase.


